
WizTools123
WizTools123
Free Online Tools

Tool Categories


Audio Tools New Tool

Free Online Audio Volume Changer With a Clipping Guard

Change audio volume free without uploading anything. The file is measured first, so the page tells you exactly how many decibels there are before it would clip, caps the increase at that, and shows where the loudest moment will land after the change.
Free Forever Nothing Uploaded Clipping Guard Measured First
Free Online Audio Volume Changer With a Clipping Guard
Share this tool
Advertisement Slot (Top Banner) Google AdSense Unit • Responsive Banner
Drop audio files here to change their volume Louder or quieter, with the page telling you first how much room there is. Select Audio Files MP3, WAV, M4A, OGG, FLAC and more • best under 25 minutes • nothing is uploaded
The shape of your sound will appear here.
0:00.000 / 0:00
How much louder or quieter
Same thing as a percentage: 100%
What is actually in this file
Loudest moment now-
Average level now-
Room before it clips-
Loudest moment after-
-
The bar shows where the loudest moment will sit after the change. Green is comfortable, amber is close to the ceiling, red means samples are being cut off.

Output
Only used when the output is WAV. The compressed formats have their own.
.mp3

Your files

These files only exist in this tab. Save the ones you want before you close the page, because there is no copy of them anywhere else.

Buy Us A Coffee

Enjoying WizTools123? Help keep our server infrastructure 100% free and open for everyone.

Buy Us A Coffee
Sponsored Content (Below Tool) Google AdSense Placement

How to Make Audio Louder or Quieter

See how much room there is first, then decide.

1
Drop the file in It is measured as soon as it opens: the loudest moment, the average level, and how much room there is before anything would clip.
2
Look at the room you have The panel says in decibels exactly how much louder this file can go. "As loud as it will go" takes it right up to that line in one press.
3
Set the change Use the buttons, the slider or the percentage. The bar underneath shows where the loudest moment will land, and turns red if it would be cut off.
4
Run it and take the file With the safety on, the increase is capped at what the file allows and you are told what was used.

Why You Cannot Just Turn Everything Up

The ceiling, and what happens when you hit it.

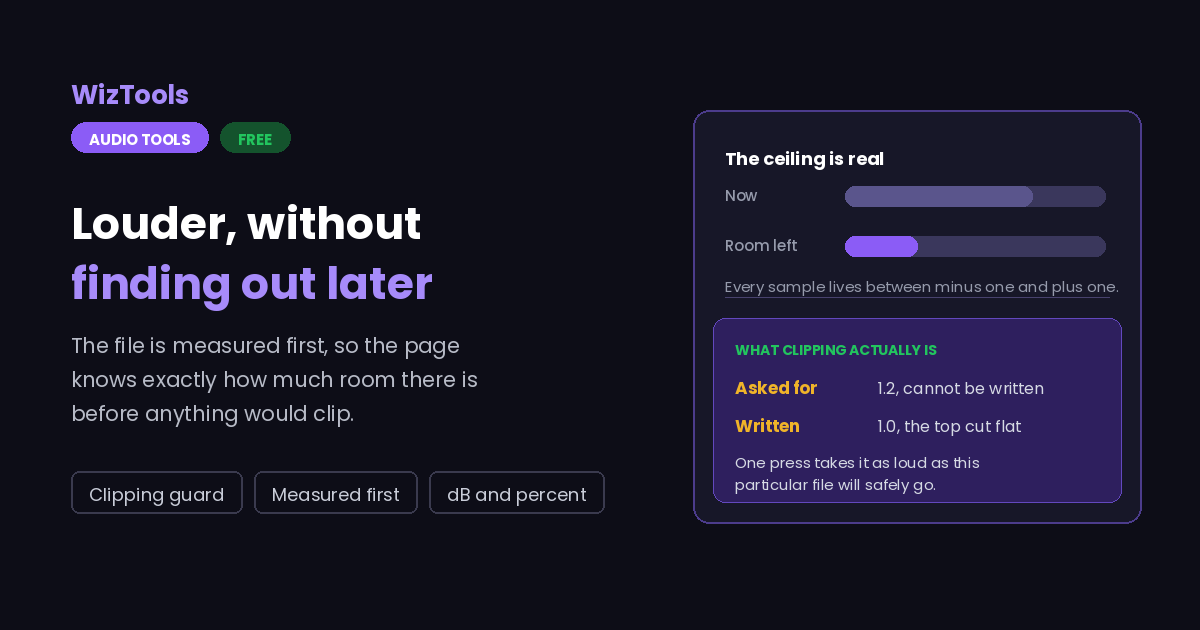
There is a hard ceiling and it cannot be moved. Every sample in a file lives between minus one and plus one. Doubling the volume of a sample already at 0.6 asks for 1.2, and the file can only store 1.0, so the top of the wave is cut flat. That flat top is what distortion sounds like.
The safety setting stops exactly that. With it on, the increase is limited to whatever the loudest moment in your file allows, and the page tells you what that limit was. Turn it off only if you want the clipping, which is occasionally a deliberate effect.
A quiet recording is not always fixable by turning it up. If it was recorded far too quietly, the noise floor comes up with the sound, and you end up with loud hiss. Raising a very quiet file by more than about twenty decibels almost always sounds worse, not better.
This changes the whole file by the same amount. It does not make the quiet parts louder and the loud parts quieter. If the problem is that one section is inaudible and another is shouting, the normalizer is the page you want.
The work happens on your own machine. Your file is opened by this page, not sent anywhere. That is why there is no upload bar, no queue and no waiting for a server. It is also why a long recording leans on your own memory: nothing is being done for you somewhere else.
Most of what this page does needs no download at all. Your browser already has a full audio engine in it, and that is what does the work. A thirty megabyte encoder is only fetched if you ask for MP3, M4A, OGG or FLAC at the end. Ask for WAV and nothing is downloaded, ever.
MP3, M4A, OGG and Opus throw information away, every time. Opening one and saving it again is a second pass of that, so the result is always slightly worse than the original even if you changed nothing. Where it matters, take WAV or FLAC out of this page instead.
Leave the tab open. All of the work is in this page, so closing it or navigating away stops the job halfway. On a phone, switching apps can do the same thing, because the system is allowed to pause a background tab.

Key Features & Capabilities

What this tool does, and what it deliberately does not.

Nothing uploaded Measured and changed on your own machine, one file or a hundred.
Tells you the room first The exact number of decibels available before anything clips, measured from your file rather than assumed.
Will not let you ruin it The safety setting caps the increase at what the file can take, and says what it used.
One press for maximum "As loud as it will go" finds the exact figure for this file and sets it.
Decibels or percentages Both, tied to the same control, so they can never disagree with each other.
A whole folder at once Each file is measured on its own, so the safety limit is right for each one rather than for the first.

About the Bulk Audio Volume Changer

Turning audio up is multiplication, and multiplication has a ceiling. Every sample in a digital audio file is a number between minus one and plus one, and that is not a convention that can be argued with: it is what the format can store. Multiply a sample sitting at 0.6 by two and you have asked for 1.2, which cannot be written. What gets written is 1.0, and the smooth top of the wave becomes a flat line. That flattening is distortion, and once it is in the file it cannot be taken out.

Most volume tools let you find this out afterwards. This one measures the file the moment it opens and tells you, in decibels, exactly how much room there is above its loudest moment. If the answer is 1.2 dB, then 1.2 dB is what you have, and pushing to plus six will damage the file. The safety setting simply enforces that, and says what limit it applied, so nothing is silently different from what you asked for.

Decibels are the main scale here rather than percentages, and that is worth a sentence because it trips people up. Hearing is logarithmic: doubling the amplitude of a sound does not sound twice as loud, it sounds moderately louder, and it is only six decibels. Percentages make small changes look dramatic and large changes look modest. Both are on the page, tied to the same control so they cannot disagree, but the decibel figure is the one that matches what you hear.

There is a limit to what raising the volume can fix. A recording made far too quietly has its useful sound and its noise floor in the same file, and raising one raises the other. Past about twenty decibels of lift, what you notice is the hiss, not the improvement. That is not a failing of the tool; it is information that was never captured.

The other thing this page deliberately does not do is even out a recording. It applies one change to the whole file. If a recording is inaudible in one place and shouting in another, the fix is compression and normalisation, which is a different page on this site and a different operation entirely.

Frequently Asked Questions

Decibels, clipping, quiet recordings and batches.

Drop it here and leave the safety setting on. The file is measured first, so the page knows exactly how much room there is above its loudest moment, and it will not let you go past that. "As loud as it will go" sets that figure for you in one press.

Because something in the file is already close to the ceiling. Every sample has to fit between minus one and plus one, and if the loudest moment is already at 0.9 there is only about one decibel of room. Raising it more would cut the tops off the wave, which is what distortion is.

It is the same change expressed as a multiplier: 200% is twice the amplitude, which is six decibels. Decibels are the more useful scale because hearing works that way, but the percentage is there because it is what most people picture.

Up to a point. Turning it up raises everything equally, including the hiss and the room noise, so a badly under-recorded file becomes a loud, hissy file rather than a good one. Around twenty decibels is where that usually becomes obvious.

No, and that is an important difference. This changes the whole file by one amount. Evening out the difference between loud and quiet sections is what the normalizer does.

Yes, and each file is measured separately, so the safety limit reflects that file rather than the first one in the row. Any file can also be given its own setting.

Other Audio Tools

Advertisement Slot (Bottom Banner) Google AdSense Unit • Responsive Banner