WizTools123
Free Online Tools

Tool Categories


Image Tools New Tool

Free Online Bulk Image Sharpen Tool With a Real Unsharp Mask

Sharpen photographs in your browser with a proper unsharp mask. Amount, radius and a threshold that keeps grain in skies from being sharpened into a rash, with a live preview and presets for web and print. A whole batch takes one setting, and nothing is uploaded.
Free Forever Nothing Uploaded Real Unsharp Mask Live Preview
Free Online Bulk Image Sharpen Tool With a Real Unsharp Mask
Share this tool
Advertisement Slot (Top Banner) Google AdSense Unit • Responsive Banner
Bulk Image Sharpen Tool Nothing loaded yet
Drop pictures here As many as you like. They are opened by your browser, not by a server. Choose pictures No limit on how many • 40 MB each • nothing is uploaded

This is the first picture. Everything you set is applied to all of them.

Click any picture to see your settings on that one. The settings on the right are applied to every picture.

Unsharp mask
Amount per cent 80
Radius pixels 1
Threshold leave flat areas alone 3
Threshold is what stops sharpening from turning grain into a rash. Raise it until skies and skin stop crawling, then stop.
Settings that work
A starting point, not an answer. Judge it at full size, not on a thumbnail.
Save as
GIF and BMP cannot be written by a browser, so those become PNG.
Quality JPEG and WebP only 88
Picture Before After Saved  
Everything together — — —  
Buy Us A Coffee

Enjoying WizTools123? Help keep our server infrastructure 100% free and open for everyone.

Buy Us A Coffee
Sponsored Content (Below Tool) Google AdSense Placement

Is It Safe to Sharpen Photos Online?

A fair question, and the answer is checkable.

What happens to your picture Most sites that do this This page
Where the work is done On their server In your browser
Who else can see the picture Whoever runs the server Nobody, it never left
What happens to the GPS location Reaches them before it is stripped Never leaves your device
Can you verify the claim No, you have to trust it Yes, see below
Check it yourself. Press F12 to open your browser tools and go to the Network tab. Drop a picture in and use the tool. You will see the page fetch its own code and nothing else: your file is never sent. For a stronger test, load this page, turn off your wifi, and use it anyway. It still works, which would be impossible if a server were doing the job.

How to Sharpen a Soft Photograph

Drop, choose, download. Your originals are never touched.

1
Step 1 Drop your pictures in. As many as you like, and none of them are uploaded.
2
Step 2 Start with one of the presets, then adjust the amount while watching the preview.
3
Step 3 Raise the threshold until any crawling in flat areas stops.
4
Step 4 Press Sharpen, then download them singly or all at once as a ZIP.

What Sharpening Can and Cannot Do

It raises the contrast at edges. It does not add detail.

Sharpening does not add detail. It cannot. What it does is raise the contrast along edges that are already there, which the eye reads as sharper. Detail that was never captured, because the lens missed focus or the subject moved, is not in the file and no amount of sharpening will invent it.
Halos are the sign of too much. Push the amount far enough and every edge grows a bright line on one side and a dark line on the other. Once you can see them at normal viewing size, the picture looks worse than the soft original, and people who look at pictures for a living spot it instantly.
Threshold exists because of noise. Without it, sharpening treats grain in a clear sky as detail worth emphasising, and the sky starts to crawl. Threshold says to ignore differences smaller than a certain size, which leaves flat areas alone and sharpens real edges.
Sharpen last, and sharpen for the size you will use. A picture sharpened for print looks crunchy on a screen, and one resized after sharpening loses most of the effect. Resize first, then sharpen, then save.

Key Features & Capabilities

What this tool does, and what it deliberately does not.

Never uploaded The work happens in your browser, so nothing you are still working on goes anywhere.
A real unsharp mask Amount, radius and threshold, the same three controls a proper editor gives you, rather than one vague slider.
Threshold that works Flat areas are left alone, so grain in a sky stays grain instead of being sharpened into a rash.
You see it as you drag The preview is the real result, which is the only way to judge sharpening at all.
Starting points Presets for web, print and rescuing a soft photograph, described as starting points rather than answers.
A whole batch at once One setting across a set, which is what a folder of resized photographs needs before it goes out.

About the Bulk Image Sharpen Tool

This page sharpens pictures with a proper unsharp mask: amount, radius and threshold, the same three controls a serious editor gives you. The name comes from darkroom practice, where a blurred negative was combined with the original to make edges stand out, and the arithmetic here is the same idea.

What it actually does is worth understanding, because it changes how hard you push. Sharpening compares each pixel with a blurred version of its surroundings and exaggerates the difference. Edges gain contrast, which the eye reads as detail. No new information appears: a photograph that missed focus is missing the detail, and this makes the miss crisper rather than fixing it.

Threshold is the control most web tools leave out, and it is the one that stops the results looking amateurish. Without it, grain in a clear sky counts as detail and gets emphasised until the sky crawls. With it, differences below a set size are ignored, so flat areas stay smooth while real edges sharpen.

Three presets are offered as starting points, and described that way. Sharpening depends on the picture, the size it will be seen at and where it is going, so a preset is somewhere to begin rather than a verdict. Everything runs in your own browser, and a whole batch takes one setting.

Frequently Asked Questions

Blurry photos, halos, noise and what sharpening really is.

Drop it here and raise the amount while watching the preview. It will look crisper, because the contrast along every edge is being raised. Be clear about what is happening though: a picture that is out of focus is missing detail, and sharpening cannot put back what was never recorded.

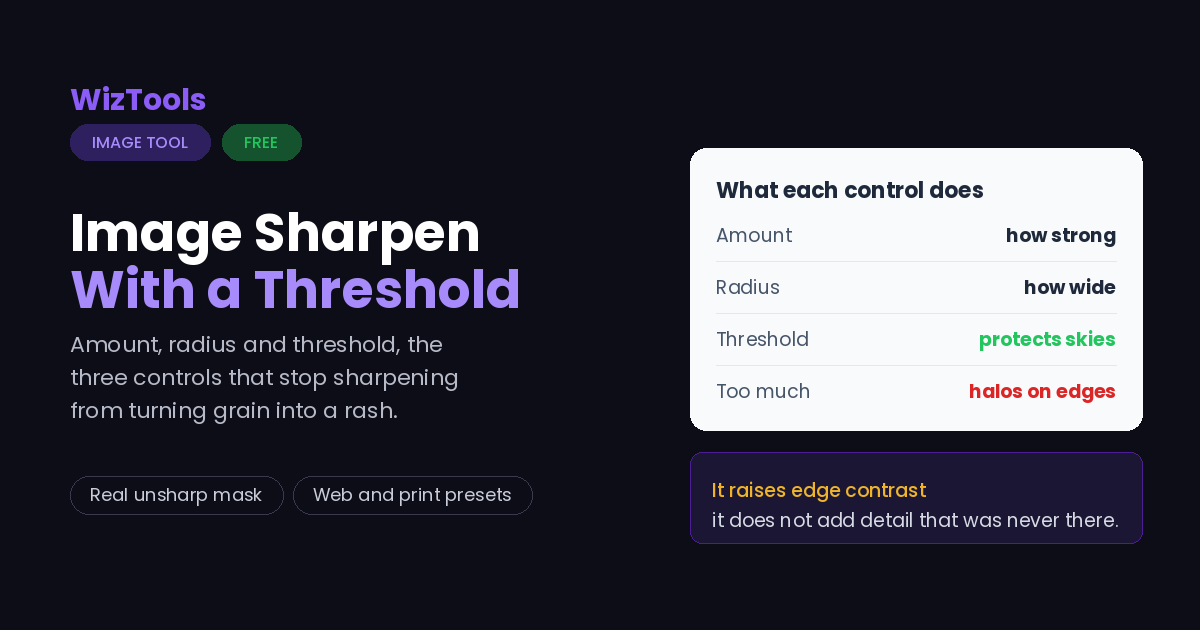
Amount is how strong the effect is. Radius is how wide an area around each edge is affected, and one pixel suits most web images. Threshold is how different two neighbouring areas have to be before they count as an edge, which keeps sharpening away from flat sky and skin.

Those are halos, and they mean the amount or the radius is too high. Every edge has grown a bright line on one side and a dark one on the other. Lower the amount until they disappear at normal viewing size.

Sharpening is emphasising the noise. Raise the threshold, which tells it to ignore small differences, and the flat areas settle down while genuine edges stay sharp.

After, always. Resizing softens a picture, so sharpening first and then resizing throws most of the effect away. Resize to the size you will actually use, then sharpen, then save.

No. Everything happens inside your browser, which you can prove by turning off your internet connection and sharpening a picture anyway.

Every Other Image Tool

40 more tools in this set. All free, all in your browser.

Advertisement Slot (Bottom Banner) Google AdSense Unit • Responsive Banner